Unlocking Secrets to Home Sprinkler Repairs: Expert Techniques and Solutions for Efficient Irrigation
Is your lawn showing dry patches or pooling water because of a faulty sprinkler system? Home irrigation repair techniques can restore uniform coverage, conserve water and protect your landscape investment. This guide uncovers professional and do-it-yourself methods for diagnosing common faults, replacing worn components, sealing leaks and maintaining peak performance. You’ll explore:
- Troubleshooting pressure, activation and clog issues
- Replacing damaged sprinkler heads step by step
- Fixing leaky valves and broken pipes for water efficiency
- Understanding professional service costs and when to call experts
- Seasonal maintenance tips and emergency repair options
Brightwater’s irrigation repair and maintenance offerings combine local expertise in Winter Park with a commitment to water-wise solutions, ensuring a healthier lawn with fewer headaches. Let’s begin by diagnosing common performance issues that homeowners encounter.
How Do You Troubleshoot Common Home Sprinkler System Problems?
Troubleshooting a home sprinkler system involves systematically identifying pressure drops, activation failures and nozzle blockages to restore proper coverage and prevent water waste. By pinpointing each fault—whether mechanical, electrical or debris-related—you maintain a lush lawn and avoid expensive repairs. Establishing a clear diagnostic flow sets the foundation for targeted fixes and efficient irrigation.
What Causes Low Water Pressure in Sprinkler Systems?
Low water pressure reduces spray height, unevenly wets turf and increases runtime. It typically stems from closed or damaged supply valves, leaky mainlines or clogged pressure regulators. For example, a partially closed backflow prevention valve can cut pressure in half.
Common causes include:
- Partially closed main shut-off or backflow valves
- Sediment buildup in pressure regulators or filters
- Underground leaks in supply lines
- Simultaneous operation of multiple zones
Correcting pressure anomalies often requires checking valve positions, inspecting regulator screens and monitoring flow rates at the controller. Once pressure is normalized, you can verify sprinkler activation next.
Oklahoma State University Extension, Managing Pressure in the Home Irrigation System (2020)
Troubleshooting Sprinkler System Problems
Low water pressure in a sprinkler system can be caused by several factors, including closed or damaged supply valves, leaky mainlines, or clogged pressure regulators. Partially closed valves, sediment buildup, underground leaks, and simultaneous operation of multiple zones are common causes.
How Can You Identify and Fix a Sprinkler System That Won’t Turn On?
A sprinkler system that fails to activate typically indicates an electrical or controller issue preventing signal delivery to valves. Testing and repairing this fault restores automatic watering and prevents manual intervention.
Follow these steps to restore activation:
- Verify controller power and programming; reset to factory defaults if necessary.
- Manually actuate a station to isolate controller vs. valve faults.
- Inspect wiring for breaks, corrosion or loose connections at solenoids.
- Use a multimeter to confirm 24 VAC at each valve during station call.
- Replace faulty solenoids or wiring sections before reburial.
When the system reliably powers zones on demand, the next check is ensuring each nozzle sprays as intended.
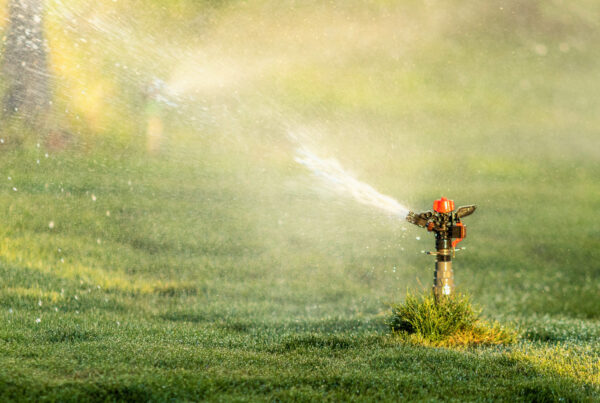
What Are the Signs of Clogged Nozzles and How Do You Clear Them?
Clogged nozzles manifest as uneven arcs, dribbling streams or completely dry sectors, caused by dirt, sand or mineral deposits inside orifices. Clearing them restores uniform distribution and prevents overwatering adjacent areas.
To clean nozzles effectively:
- Remove each nozzle tip and screen assembly.
- Soak components in a vinegar solution to dissolve mineral scale.
- Gently remove debris with a soft-bristled brush or nozzle-cleaning tool.
- Rinse parts thoroughly and reinstall, ensuring proper alignment.
Restoring clear spray patterns prevents localized dry spots and leads into head replacement when a nozzle is beyond cleaning or physically damaged.
What Are the Step-by-Step Methods for Sprinkler Head Replacement?
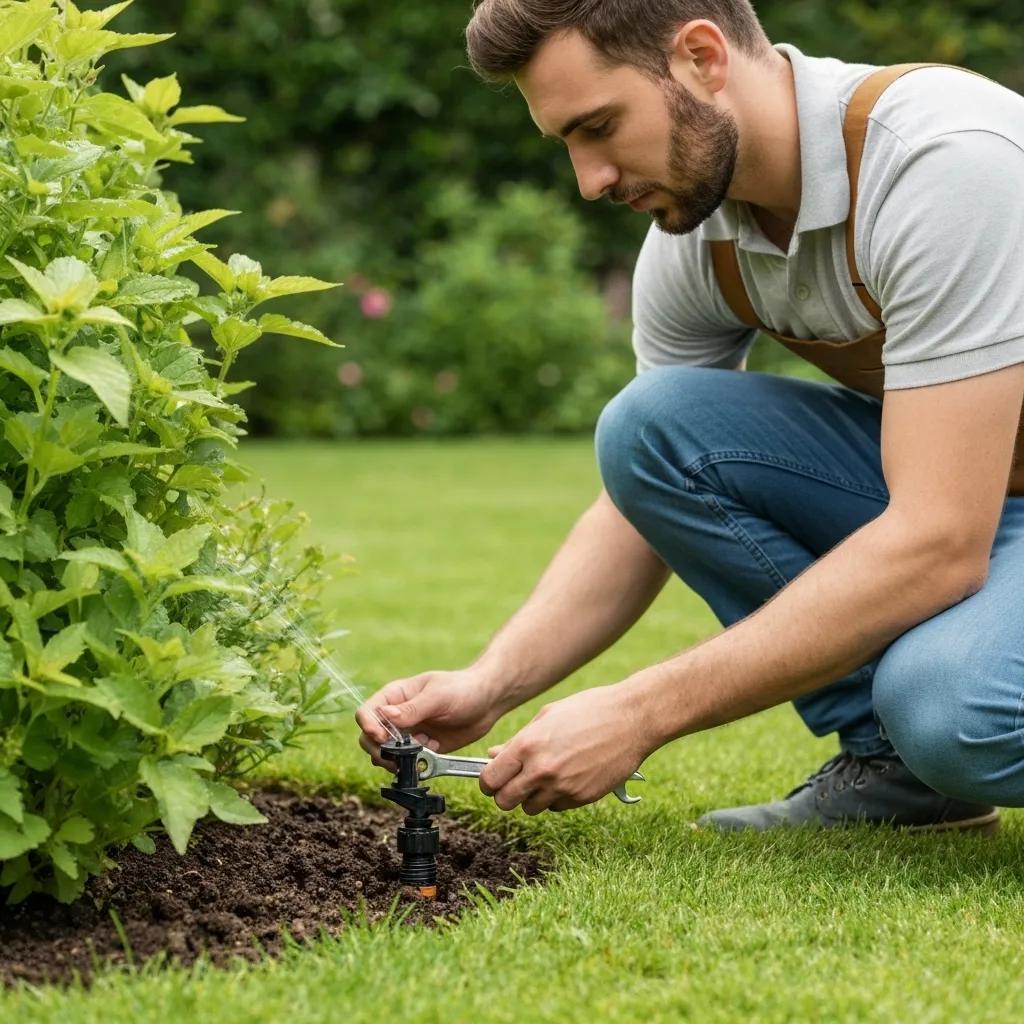
How Do You Remove and Replace a Broken or Damaged Sprinkler Head?
Begin replacement by shutting off the main water supply and relieving system pressure. Carefully dig around the damaged head to expose its coupling, then:
- Unscrew or pull off the old head from its riser or fitting.
- Clean threads or barbed fittings of debris and check riser integrity.
- Apply plumber’s tape to threaded connections or primer/cement to barbed spigots.
- Install the new head at the correct height and orientation.
- Backfill soil gently to secure the head without misalignment.
Once the replacement is secure, reactivate the zone to verify spray height and arc before restoring turf cover.
Rain Bird, How to Replace a Sprinkler Head (2025)
Replacing a Sprinkler Head
Replacing a broken sprinkler head is a straightforward task that can be completed in about 20 minutes. The process involves digging around the damaged head, unscrewing it, cleaning the threads, applying plumber’s tape, installing the new head, and backfilling the soil.
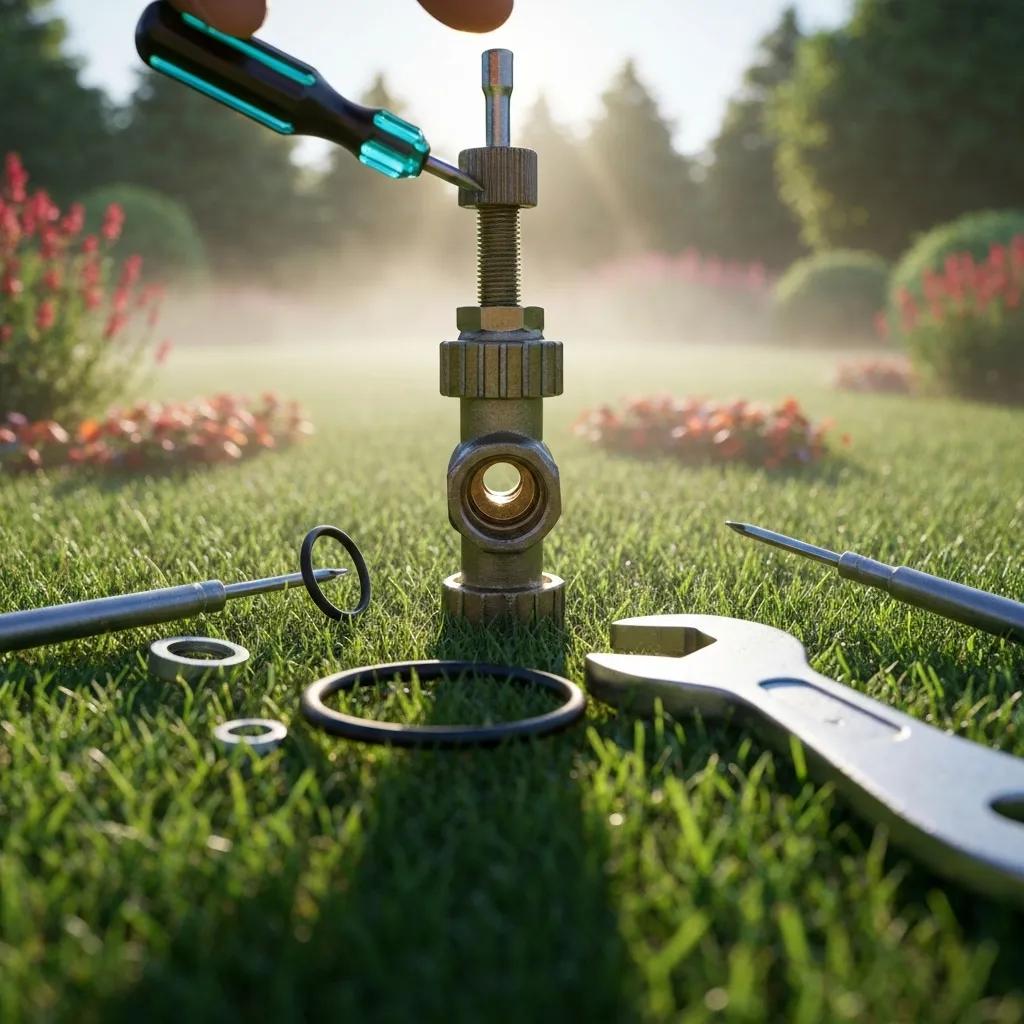
Which Tools and Parts Are Needed for Sprinkler Head Replacement?
An effective head swap relies on the right tools and compatible components.
- Adjustable wrench or slip-joint pliers for threaded heads
- Trowel or nozzle-cleaning key for digging and alignment
- Plumber’s tape for threaded joints
- PVC primer and cement for barbed fittings
- Replacement heads rated for your system’s pressure
How to Choose the Right Sprinkler Head Type for Your System
Selecting the appropriate head type—rotor, spray or drip—depends on zone size, nozzle spacing and pressure range. Each style offers specific coverage patterns and operating pressure windows, so matching the new head to existing specifications prevents mismatched coverage or pressure losses and maintains seamless integration.
With heads correctly sized and installed, the next critical component to examine is the valve manifold that controls each irrigation zone.
How Can You Fix a Leaky Sprinkler Valve to Prevent Water Waste?
A leaky sprinkler valve causes continuous flow in one or more zones, wasting thousands of gallons and inflating water bills. Repairing or replacing worn diaphragms and solenoids restores positive shut-off, ensures zone isolation and promotes efficient irrigation.
What Are the Common Causes of Sprinkler Valve Leaks?
Valve leaks typically occur due to diaphragm degradation, debris lodging or solenoid malfunctions, allowing water to seep past the closed valve seat. Identifying the root cause ensures precise repairs.
- Torn or stiff valve diaphragm preventing proper seal
- Accumulated grit in valve bonnet or seal groove
- Solenoid coil failure leaving valve partially energized
- Cracked valve body or loose manifold fittings
Cinch Home Services, 5 signs you have a leaking sprinkler valve and how to fix it (2025)
Sprinkler Valve Leaks
Valve leaks often result from diaphragm degradation, debris lodging, or solenoid malfunctions, allowing water to seep past the closed valve seat. Replacing the diaphragm and cleaning internal passages can often resolve these leaks.
Replacing the diaphragm and cleaning internal passages often seals leaks and restores valve integrity.
What Are the Repair Steps for Diaphragm or Solenoid Valve Issues?
Follow these sequential steps to repair a leaking valve:
- Shut off irrigation water and bleed residual pressure.
- Unscrew the valve bonnet to access the diaphragm assembly.
- Remove the old diaphragm, inspect for tears or warping and replace with OEM part.
- Flush debris from the valve body and bonnet screen.
- Check solenoid operation by energizing with a 24 VAC tester; replace if unresponsive.
- Reassemble the valve, restore water flow and test for leaks under manual station call.
Properly repaired valves eliminate continuous drips and return zone control to the controller.
When Should You Call a Professional for Valve Repairs?
Complex manifold configurations, multi-zone failures or repeated leaks signal the need for professional diagnostics and calibrated tools. Brightwater’s certified irrigation technicians provide advanced valve repair services, leveraging specialized equipment to address stubborn leaks, manifold corrosion and electrical anomalies with lasting precision.
When valve repairs require extensive disassembly or replacement of multiple components, contacting an experienced service provider ensures proper sealing, system balance and water conservation compliance.
What Are the Best Practices for Repairing Broken Sprinkler Pipes?
Broken PVC pipes lead to hidden leaks, sudden pressure loss and potential ground erosion. Repair techniques deliver a watertight seal, restore flow capacity and prevent soil washouts that compromise system stability.
How Do You Detect and Access a Broken PVC Sprinkler Pipe?
Underground pipe breaks often go unnoticed until soggy areas appear or pressure drops. Detect leaks by observing low-pressure readings during system activation, listening for hissing sounds or probing wet spots with a hand tool. Once located:
- Dig a trench to fully expose the damaged section.
- Clean pipe surfaces of soil and debris.
- Dry the area for proper primer and cement adhesion.
Accessing the break carefully avoids further pipe damage and lays the groundwork for a clean repair.
What Are the Effective Repair Techniques for Sprinkler Pipe Leaks or Breaks?
Repair methods vary by break type but share core steps for strength and leak prevention.
Choosing the right technique ensures a durable repair that withstands ground movement and pressure fluctuations.
How to Prevent Future Pipe Damage Through Maintenance and Inspection?
Preventive inspections catch early signs of wear before they escalate into major leaks.
- Perform biannual pressure tests on each zone
- Check alignment and support of buried lines to avoid stress points
- Flush mainlines seasonally to remove sediment buildup
- Monitor lawn elevations for soil settling around pipe runs
Proactive maintenance reduces emergency repairs and extends overall system life, paving the way to assess professional service costs for major work.
How Much Does Professional Sprinkler Repair Service Cost?
Professional repair costs reflect component quality, labor requirements and system complexity, offering transparent pricing and warranty coverage. Understanding cost drivers helps homeowners budget effectively and choose the best value solution.
What Factors Influence the Cost of Sprinkler Repair Services?
Repair expenses vary based on damage scope, component rarity, site accessibility and seasonality.
- Extent of underground pipe excavation
- Type and number of sprinkler heads or valves replaced
- Labor rates for licensed irrigation technicians
- Additional services such as system audit or controller recalibration
- Local market pricing and material availability
HomeAdvisor, How Much Does Sprinkler System Repair Cost? (2025)
Sprinkler Repair Costs
The cost of professional sprinkler repair varies based on factors such as the extent of the damage, the components needing replacement, and labor rates. Minor repairs, like head or valve replacements, typically cost less than major overhauls involving pipe replacement.
Clarity on these factors enables accurate estimates and avoids surprise charges at the invoice stage.
How Do Minor Repairs Compare to Major Irrigation System Overhauls?
Minor fixes restore coverage quickly at a low cost, while extensive overhauls involve detailed system mapping, multiple component replacements and professional warranties for lasting performance.
What Are the Benefits of Hiring Local Experts Like Brightwater for Repairs?
Engaging a local provider offers tailored knowledge of area soils, water table variations and municipal regulations, along with:
- Rapid emergency response in Winter Park
- Certified technicians versed in water-conservation practices
- Transparent, flat-rate pricing and workmanship guarantees
- Integration with related services such as custom landscaping
For expert irrigation services that blend efficiency with local insight, contact Brightwater’s team to schedule a system evaluation and repair estimate.
What Maintenance Tips Help Extend the Life of Your Sprinkler System?
Regular maintenance preserves component integrity, prevents costly failures and ensures optimal turf health. A robust maintenance regimen includes seasonal winterization, head adjustments and rain sensor calibration to minimize water waste and maximize reliability.
How to Perform Seasonal Sprinkler Winterization and System Checks?
Before cooler months, depressurize and drain lines to prevent freeze damage. Then:
- Blow out remaining water with an air compressor at low pressure.
- Inspect valves and backflow devices for winter corrosion.
- Cover above-ground components and insulate exposed fittings.
Rain Bird, How Do I Winterize My Irrigation System? (2023)
Sprinkler Winterization
To prevent freeze damage, it’s crucial to winterize sprinkler systems by draining the lines before freezing temperatures arrive. This can be achieved through manual draining, automatic drain valves, or the compressed air blow-out method.
Complement this service with Brightwater’s landscaping preparations to safeguard plant beds and hardscapes over winter, ensuring a smooth startup in spring.
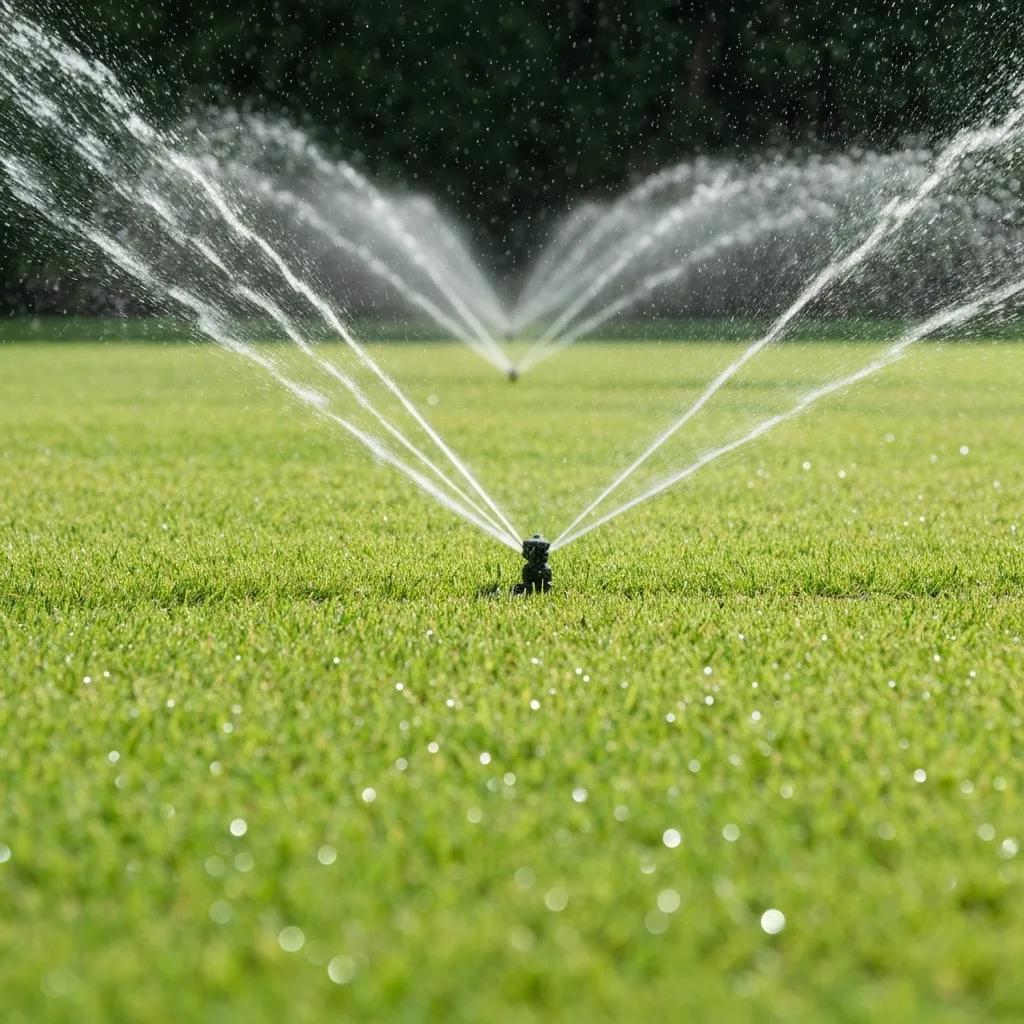
How Do You Adjust Sprinkler Head Coverage for Optimal Lawn Health?
Proper head alignment and spray radius adjustments prevent runoff and dry spots. To fine-tune:
- Measure the actual spray distance and compare to zone design spacing.
- Use nozzle adjustment keys to modify arc and distance in small increments.
- Replace mismatched nozzles if coverage overlaps or gaps persist.
Accurate coverage tuning balances water distribution and links directly to sensor-based watering recommendations next.
How to Test and Repair Rain Sensors for Efficient Water Use?
Rain sensors prevent unnecessary watering during rainfall by halting controller calls when moisture is detected. To ensure correct operation:
- Trigger the sensor manually with water spray and confirm controller response.
- Clean sensor lenses of debris and reorient for unobstructed exposure.
- Replace sensor batteries or the entire unit if unresponsive.
Maintained sensors complement a well-tuned system, reducing water waste and supporting healthy growth—while offering homeowners an alternative: Brightwater’s artificial turf installation reduces irrigation demands altogether.
When Should You Call a Professional for Home Sprinkler Repairs?
DIY repairs suit basic tasks, but complex electrical faults, manifold damage and system programming often demand specialized tools and expertise. Recognizing these scenarios ensures safe, lasting solutions and avoids repeated breakdowns.
What Repair Scenarios Require Expert Irrigation Diagnostics?
Professional diagnostics are recommended when:
- Multiple zones fail to open despite proper voltage readings
- Valve manifold shows internal corrosion or persistent leaks
- Mainline breaks occur in hard-to-access areas
- Smart controllers require firmware updates or sensor integration
How Does Brightwater Provide Localized, Efficient Sprinkler Repair Solutions?
Brightwater’s team combines in-field experience with advanced leak-detection technology to deliver swift, precise repairs. Their process includes:
- On-site system audit and pressure mapping
- Component replacement with premium parts
- Post-service calibration and efficiency testing
By focusing on local soil conditions and seasonal patterns, Brightwater ensures every repair enhances longevity and conserves water in Central Florida climates.
What Are the Emergency Sprinkler Repair Options Available in Winter Park?
When unexpected mainline ruptures or freeze-related pipe bursts occur, Brightwater offers:
- 24/7 emergency dispatch for urgent leak stopping
- Rapid trenching and pipe splice services
- Temporary above-ground delivery to maintain irrigation during repairs
These emergency options minimize landscape damage and restore irrigation swiftly, safeguarding your property’s curb appeal.
Summer droughts, freeze events or complex manifold repairs all require expert attention to preserve lawn health and system efficiency. By combining systematic troubleshooting, precise component replacement and professional maintenance, homeowners can keep their irrigation systems running seamlessly year-round.
Proactive care and timely repairs not only protect your investment in turf and foliage but also reduce water use and monthly bills. Whether tackling DIY fixes or engaging Brightwater’s certified technicians, applying these advanced home irrigation repair techniques ensures a uniformly vibrant lawn for seasons to come.